I own a 1956 Cat D2 5U and have always wanted to get a winch mounted to use for pulling logs. The opportunity to purchase a Hyster D2N came about when I got a phone call from Chad Enyeart saying he knew where a nice one for sale was located. The price was fair but the big question was getting it from California to Georgia. We soon had that arranged and it arrived at my shop shortly afterwards.

The winch was in really good shape except that it had been sitting far too long so seals and bearings needed replacing. The gears looked nearly new. This was a good find as most winches I have found are pretty well used. I will share the disassembly and restoration at a future time.

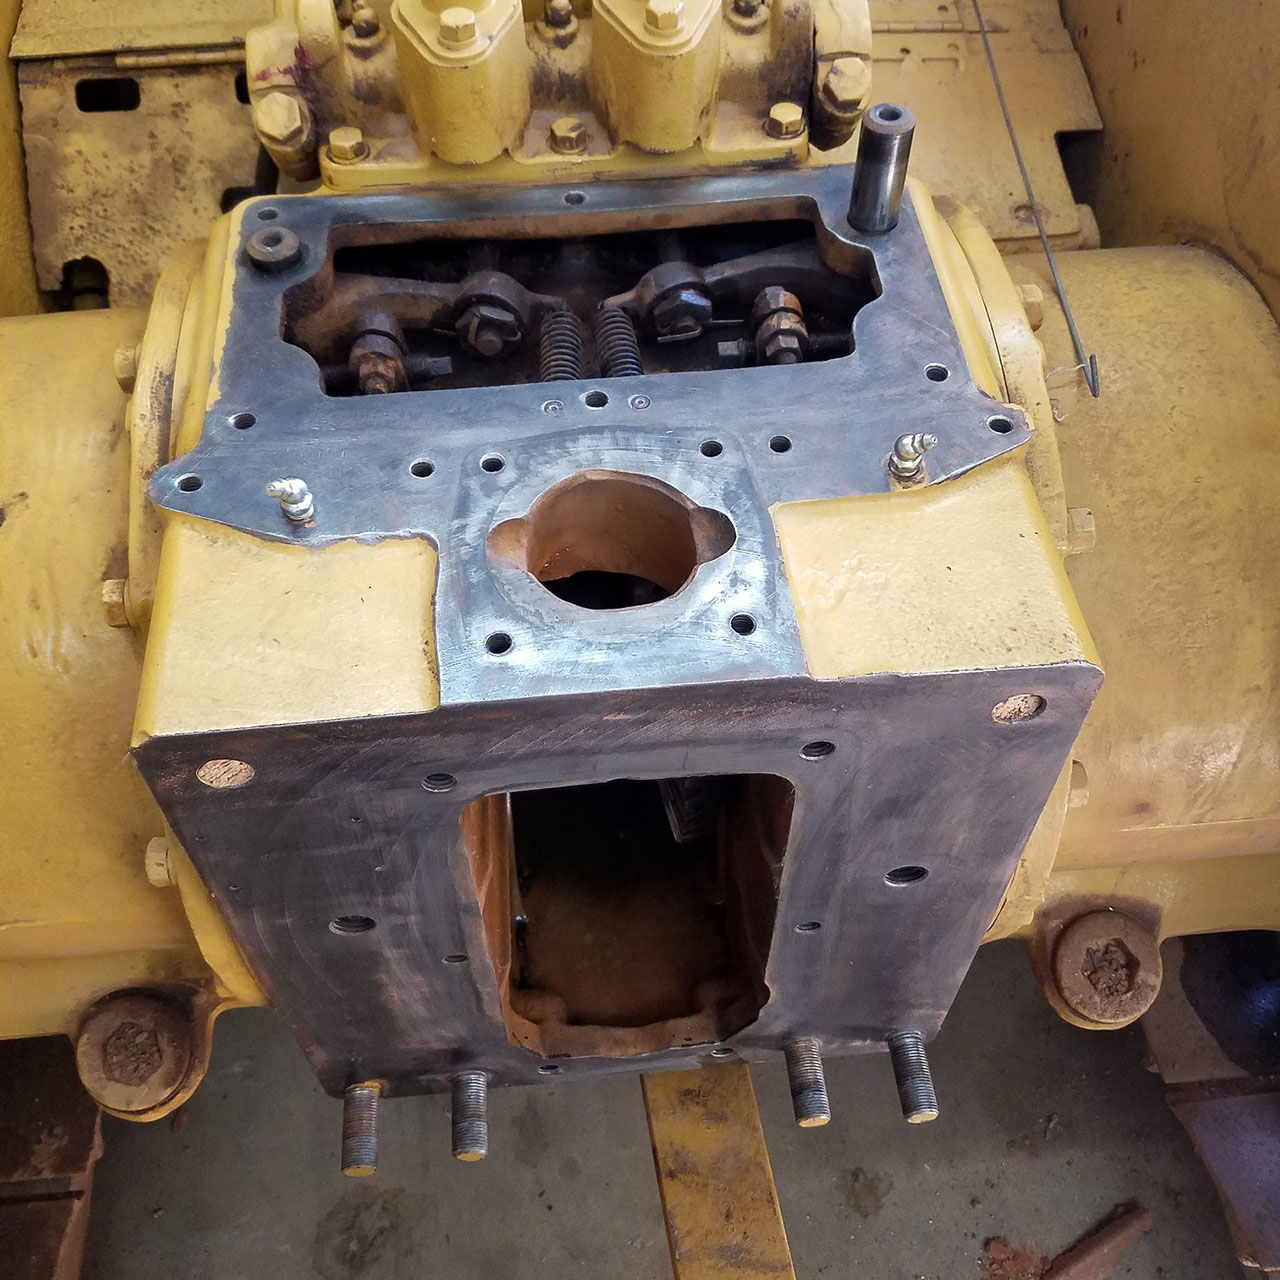
The installation was fairly straight forward. I found a couple original manuals that gave great details on all the controls and modifications needed. Be prepared as some parts will have to be made because they will not be available. The pins in the top of the transmission/differential case for the steering clutches will have to be pulled out and replaced with two new pins 3/8” longer. This is due in part to the top mounting bracket.

The brace between the fenders looked way to flimsy to add any real strength so I made a new one out of angle iron.

There were a few extra modifications I made that I felt strengthened and/or made it easier to use. I added a 1” plate to the side of the seat controls to get it more in line with the control lever coming off the winch. I also raised the blade control approximately 3/4” for easier use. I then added pipe between the flanges on the 3” channel risers for the seat bolts to go through. The reason for this was every seat mount flange on tractors I’ve seen with a winch mounted was cracked or split. I assumed it was vibration.

One challenge with a mounted winch is lubricating the final drives. I had to figure out a way to refill them without spilling gear oil on the shop floor so I cut a length of 1” PVC pipe and stuck a funnel in the end. It worked great!
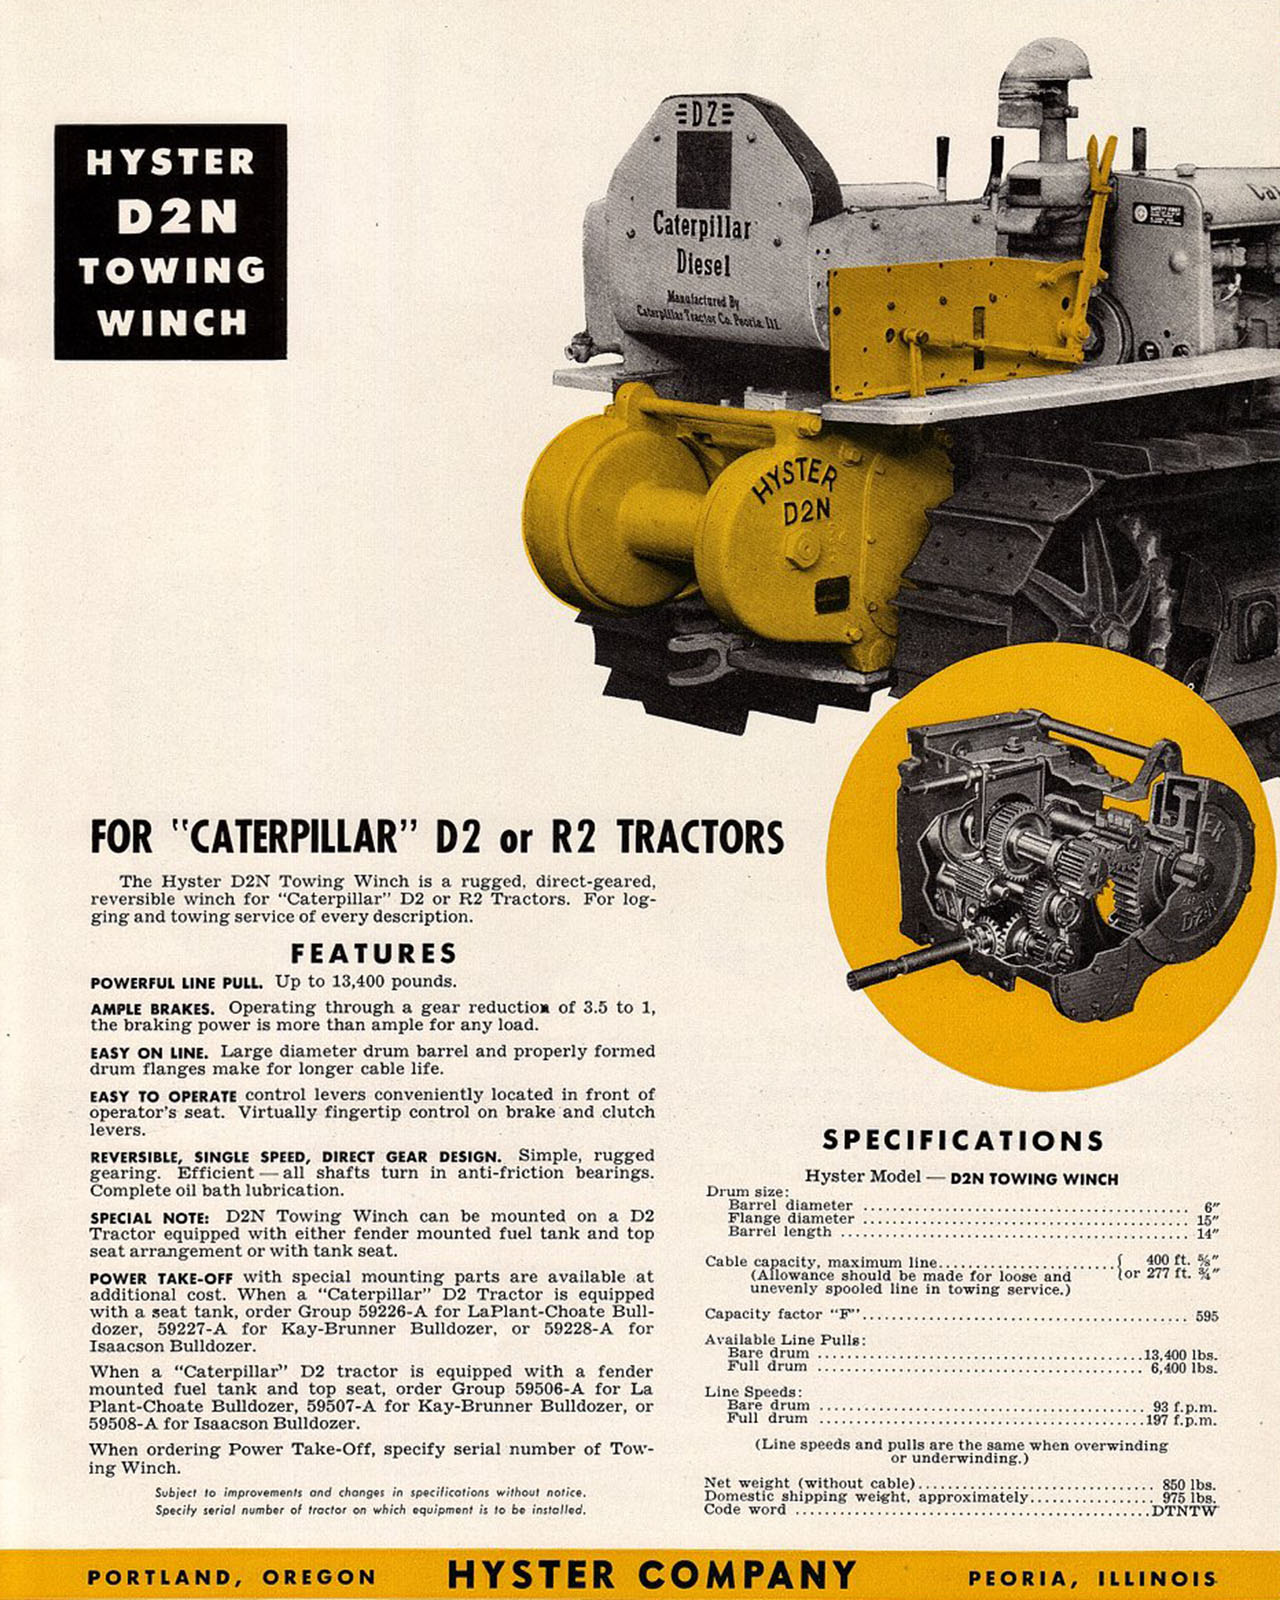
Hyster D2 Towing Winch Ad

Hyster D2 Towing Winch Advertisement

Removal of seat tank, covers and steering clutch pivot pins
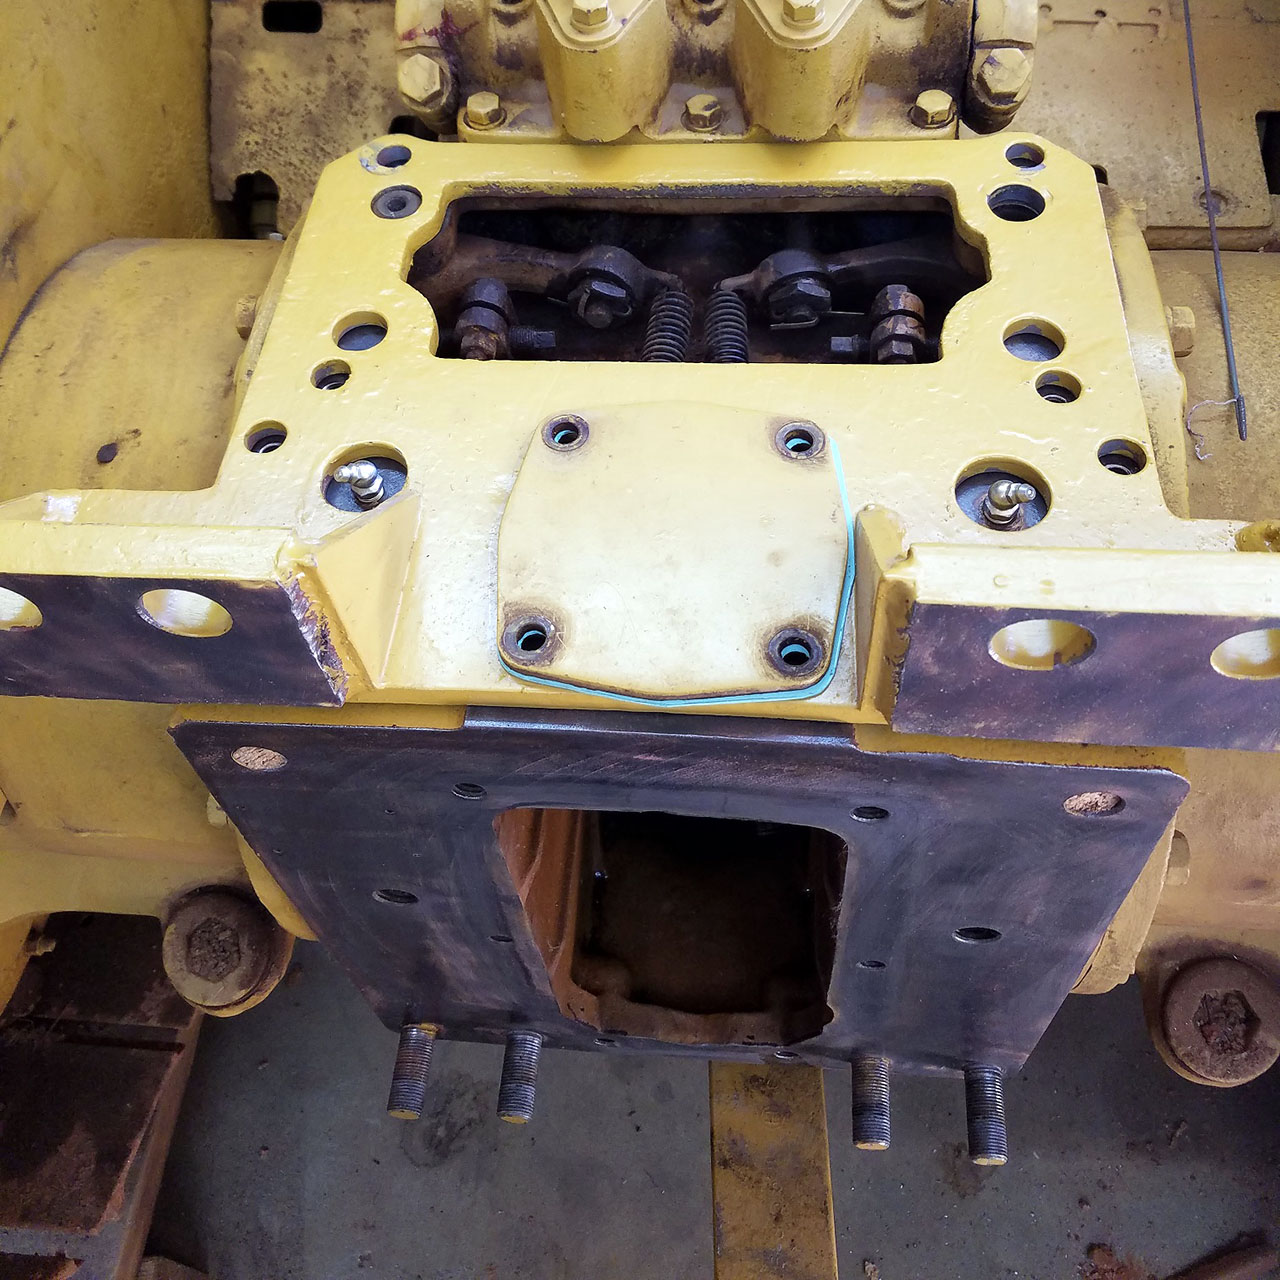
Removal of seat tank, covers and steering clutch pivot pins

Install top winch mount to tractor
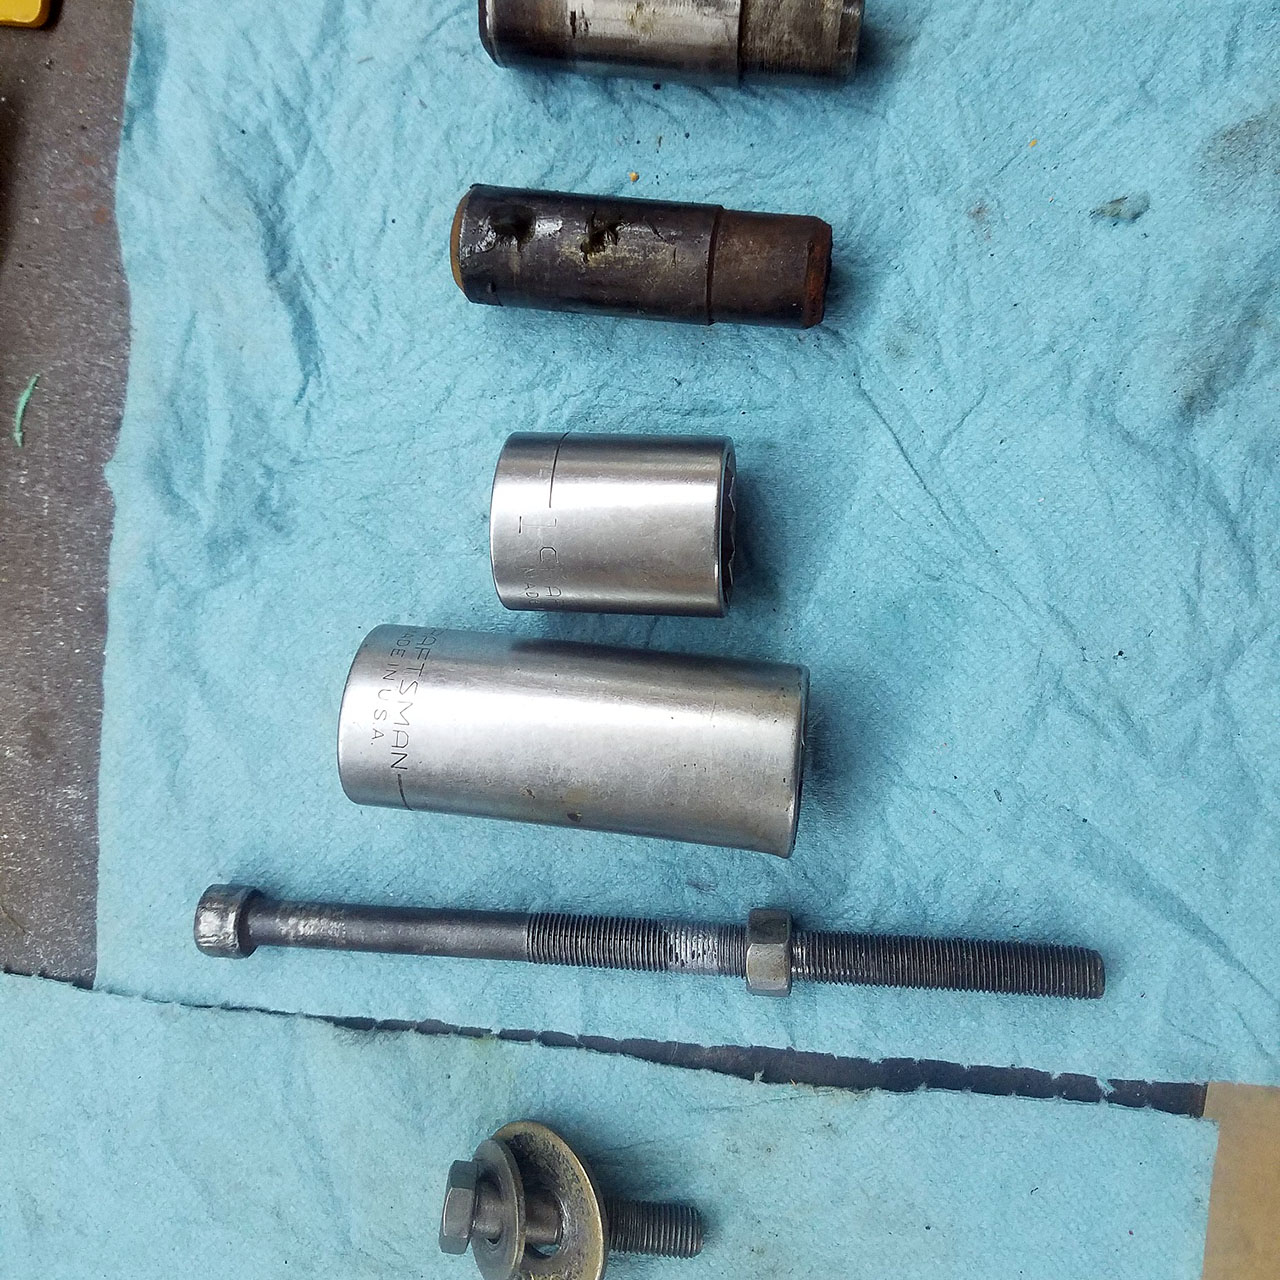
Install top winch mount to tractor

Steering clutch pivot pins removed
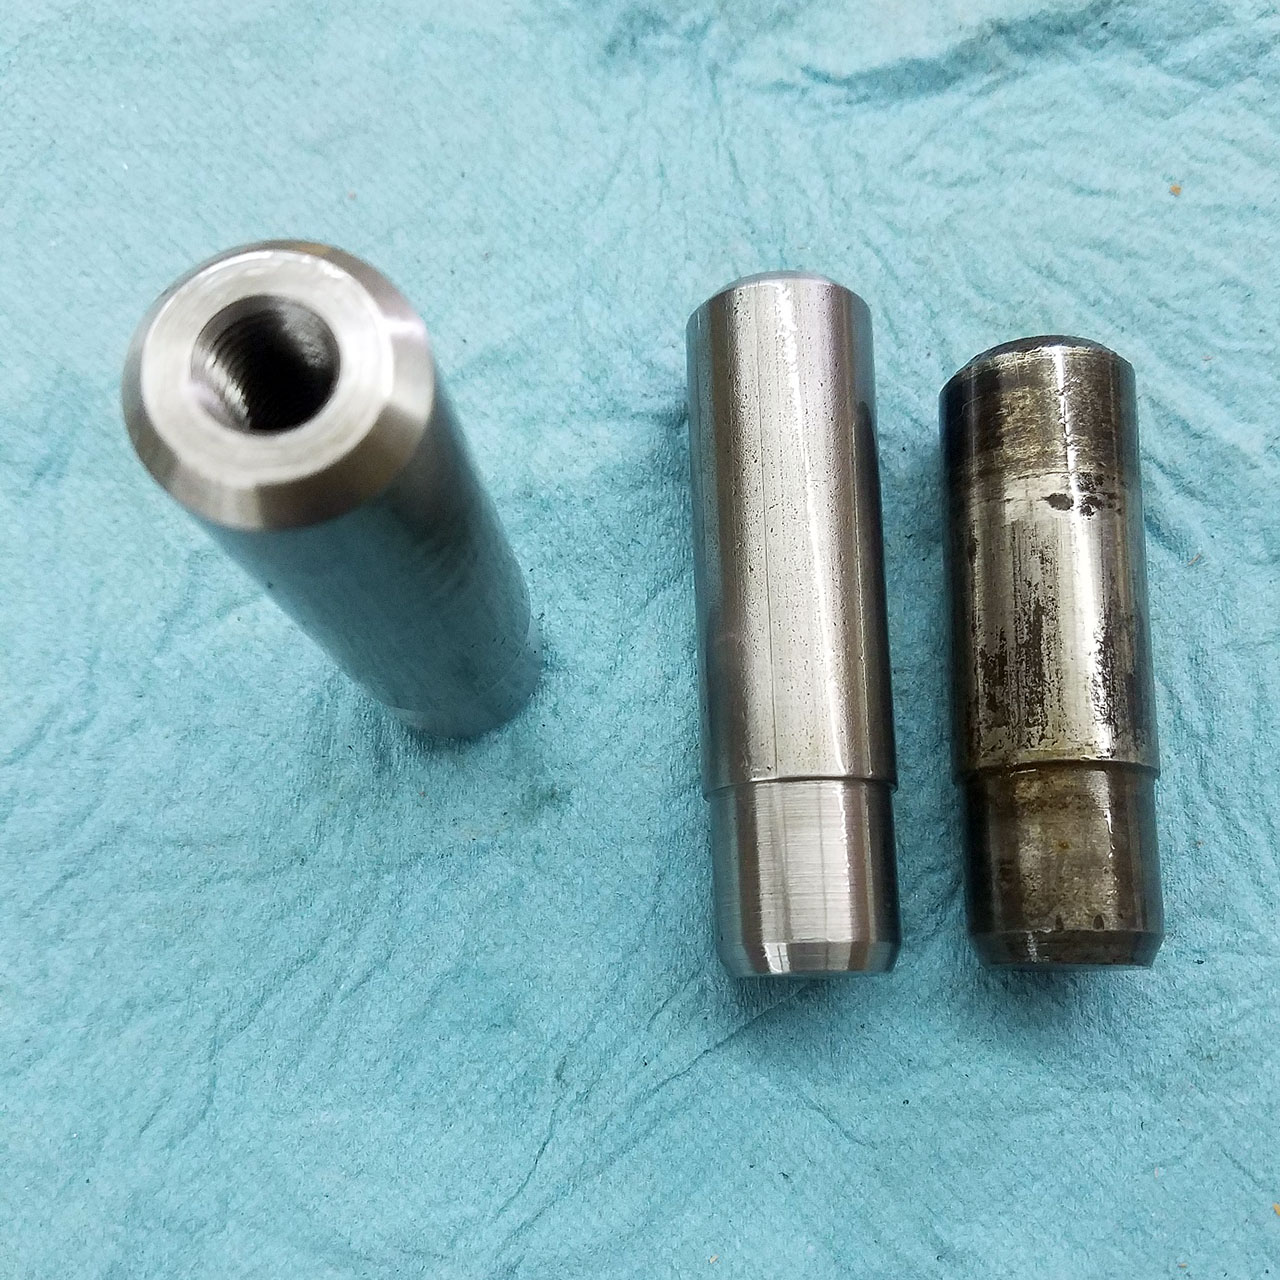
Steering clutch pivot pins removed

New steering clutch pivot pins 3/8” longer
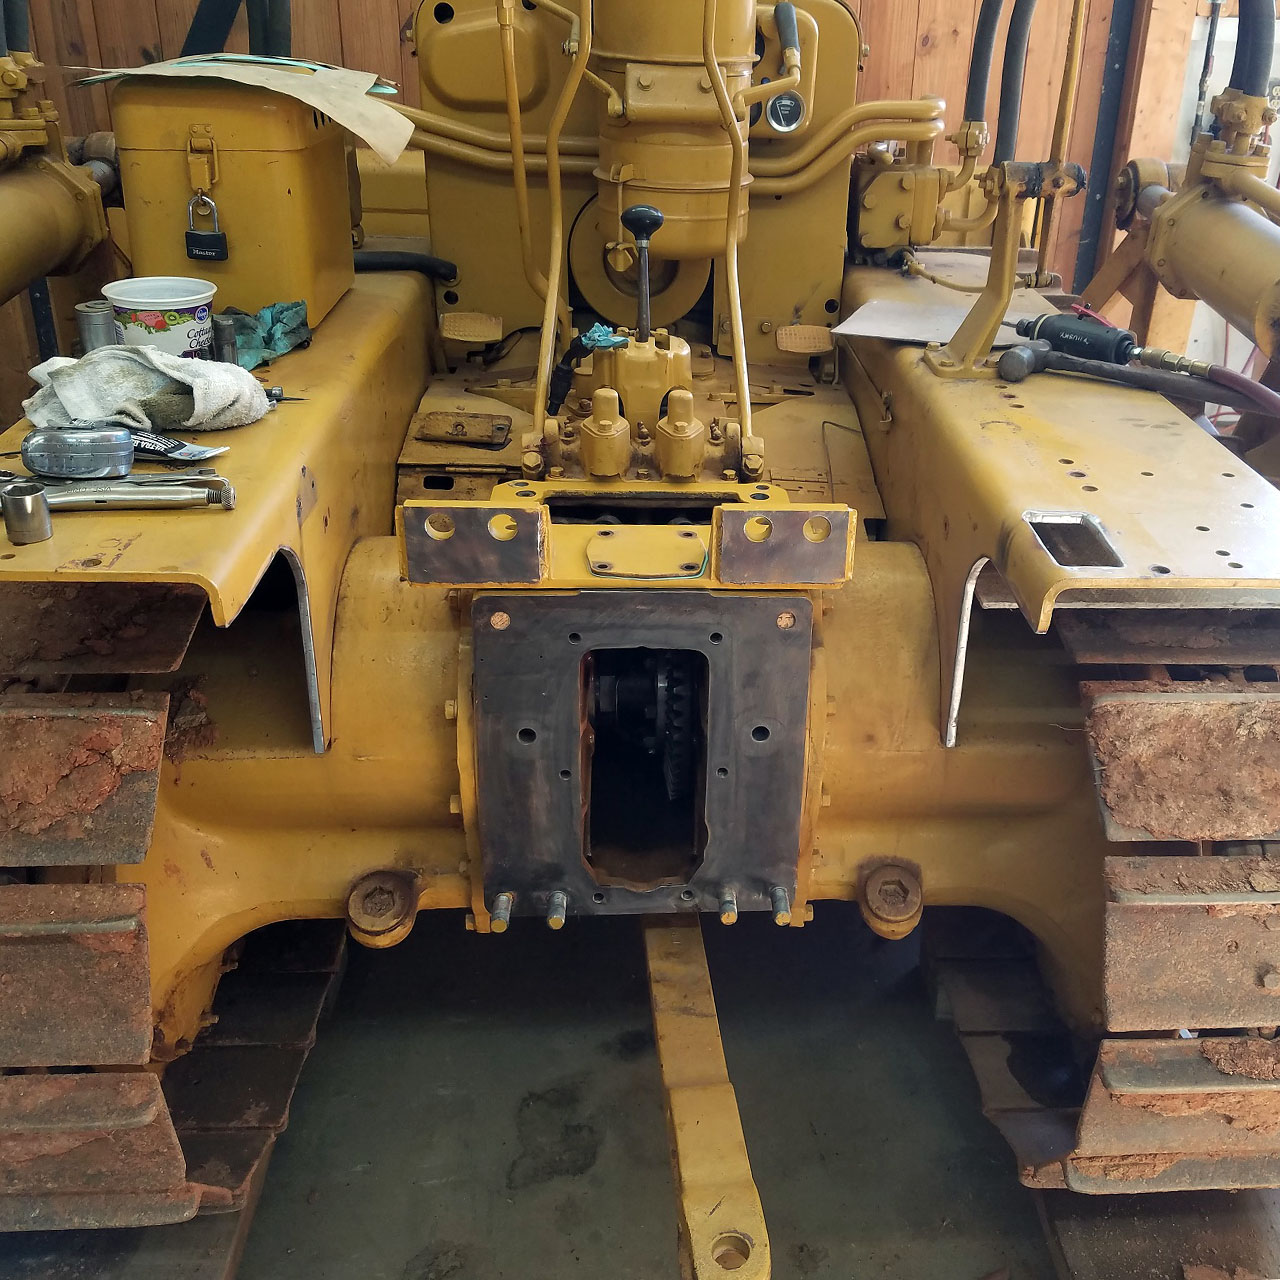
New steering clutch pivot pins 3/8” longer

Cut fenders for clearance and controls
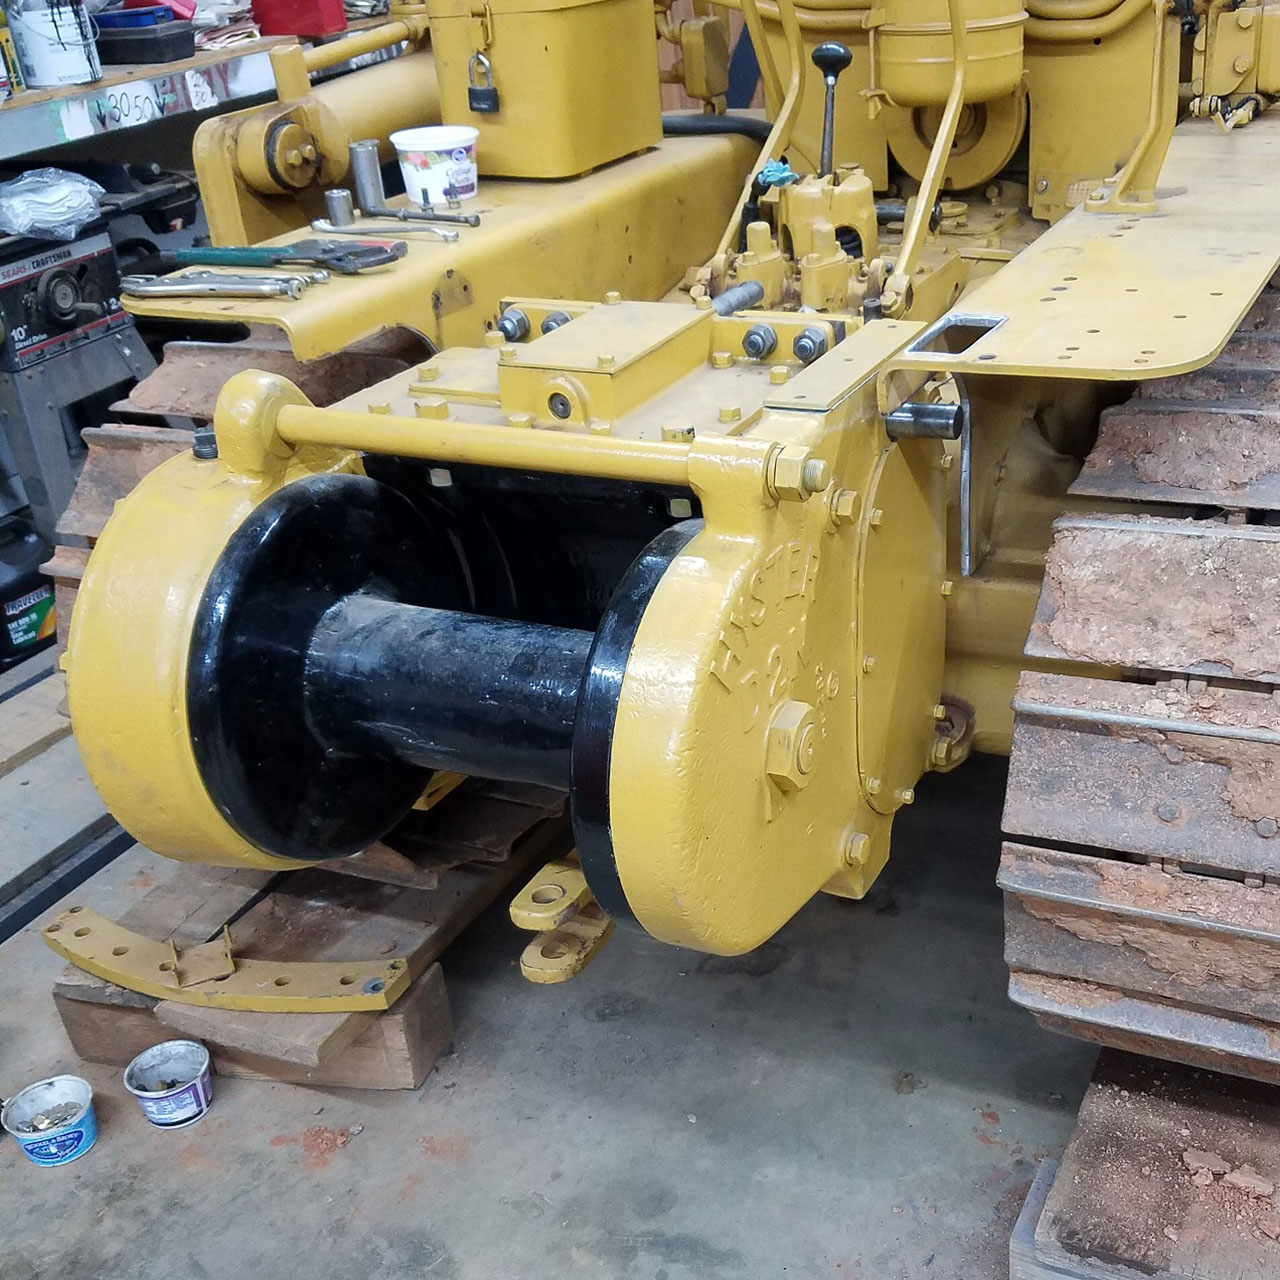
Cut fenders for clearance and controls

Install winch to tractor
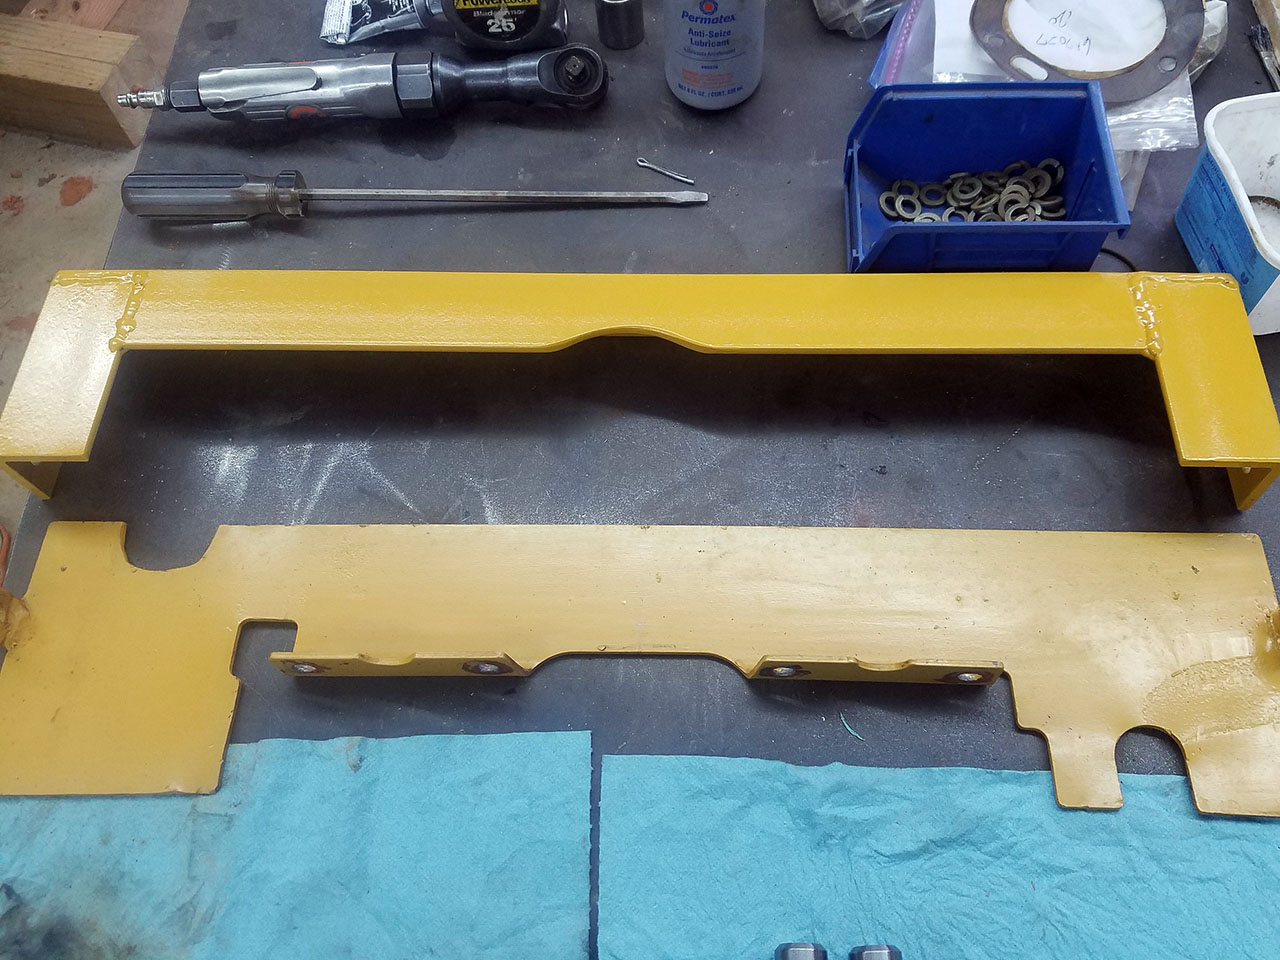
Install winch to tractor

Fabricate new under seat fender brace
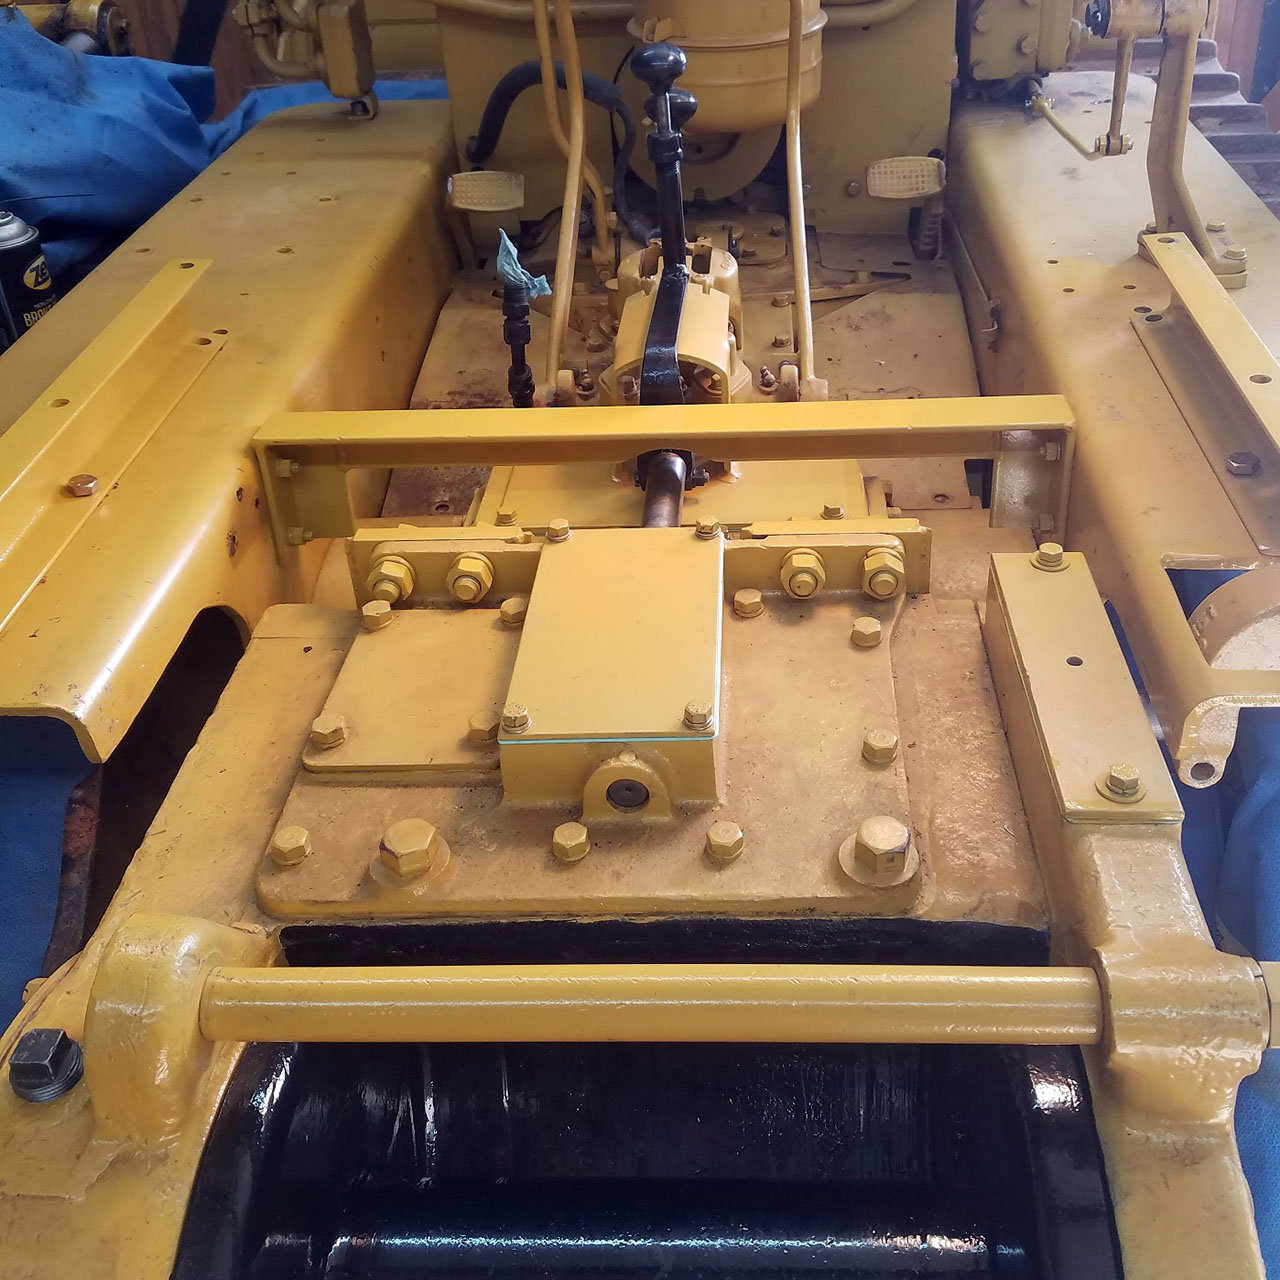
Fabricate new under seat fender brace

Install brace, covers and selector bracket
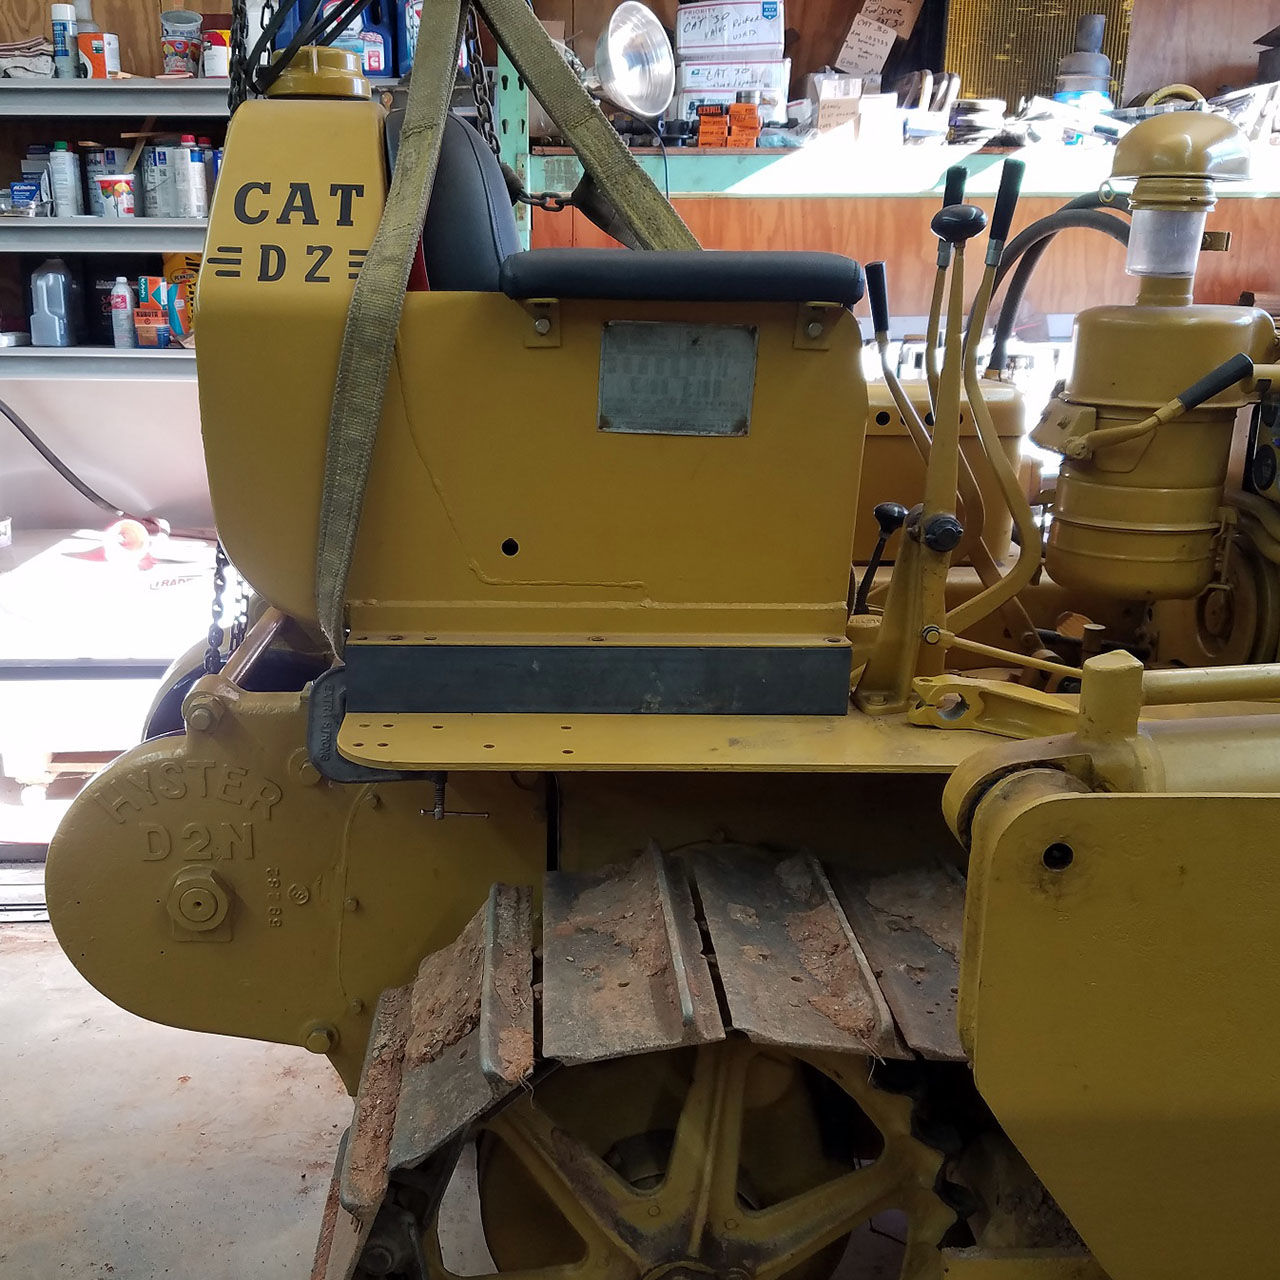
Install brace, covers and selector bracket

Mount seat on 3” channel risers
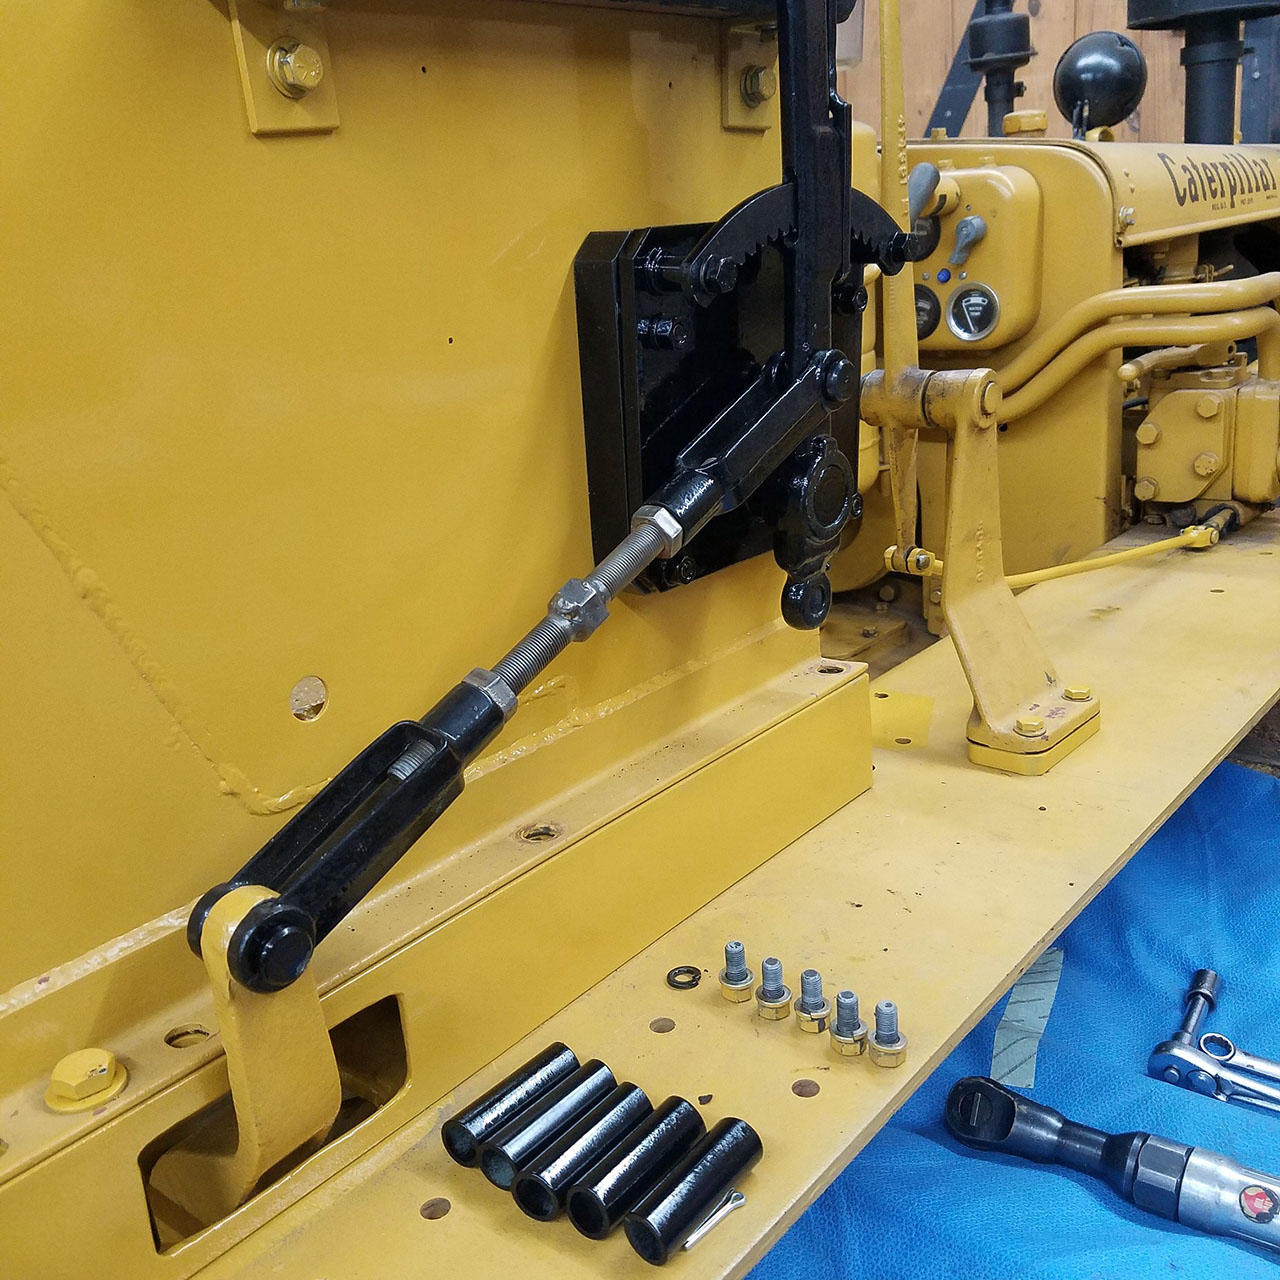
Mount seat on 3” channel risers

Mount winch controls to seat
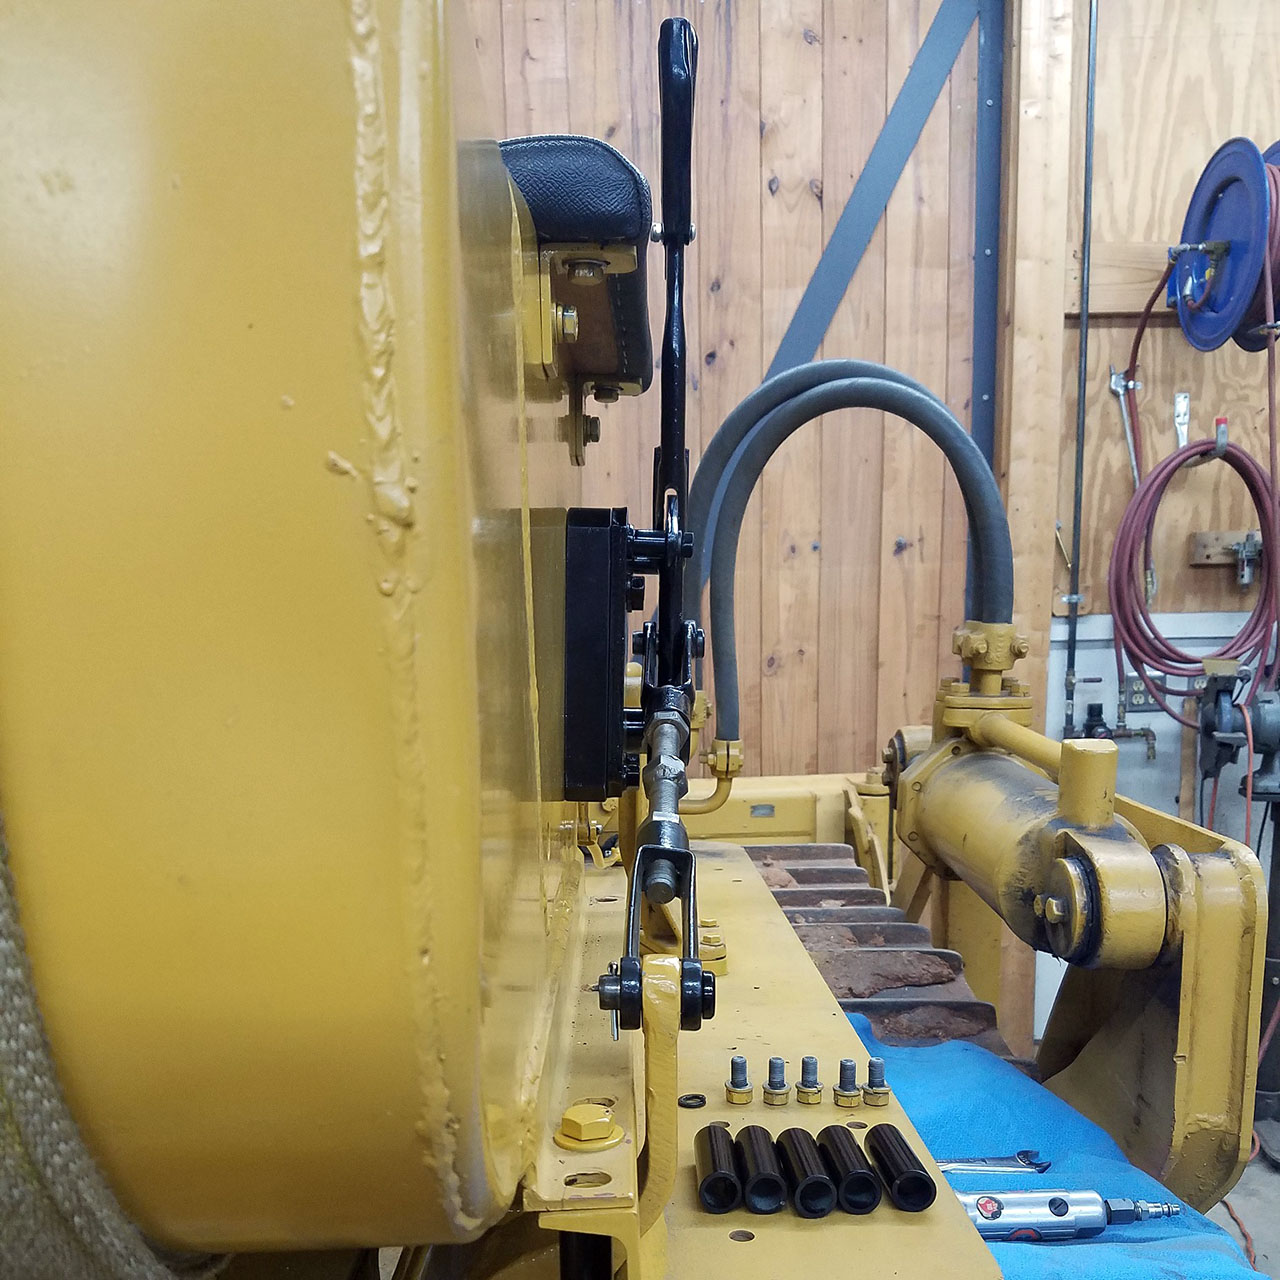
Mount winch controls to seat

Different view of winch controls
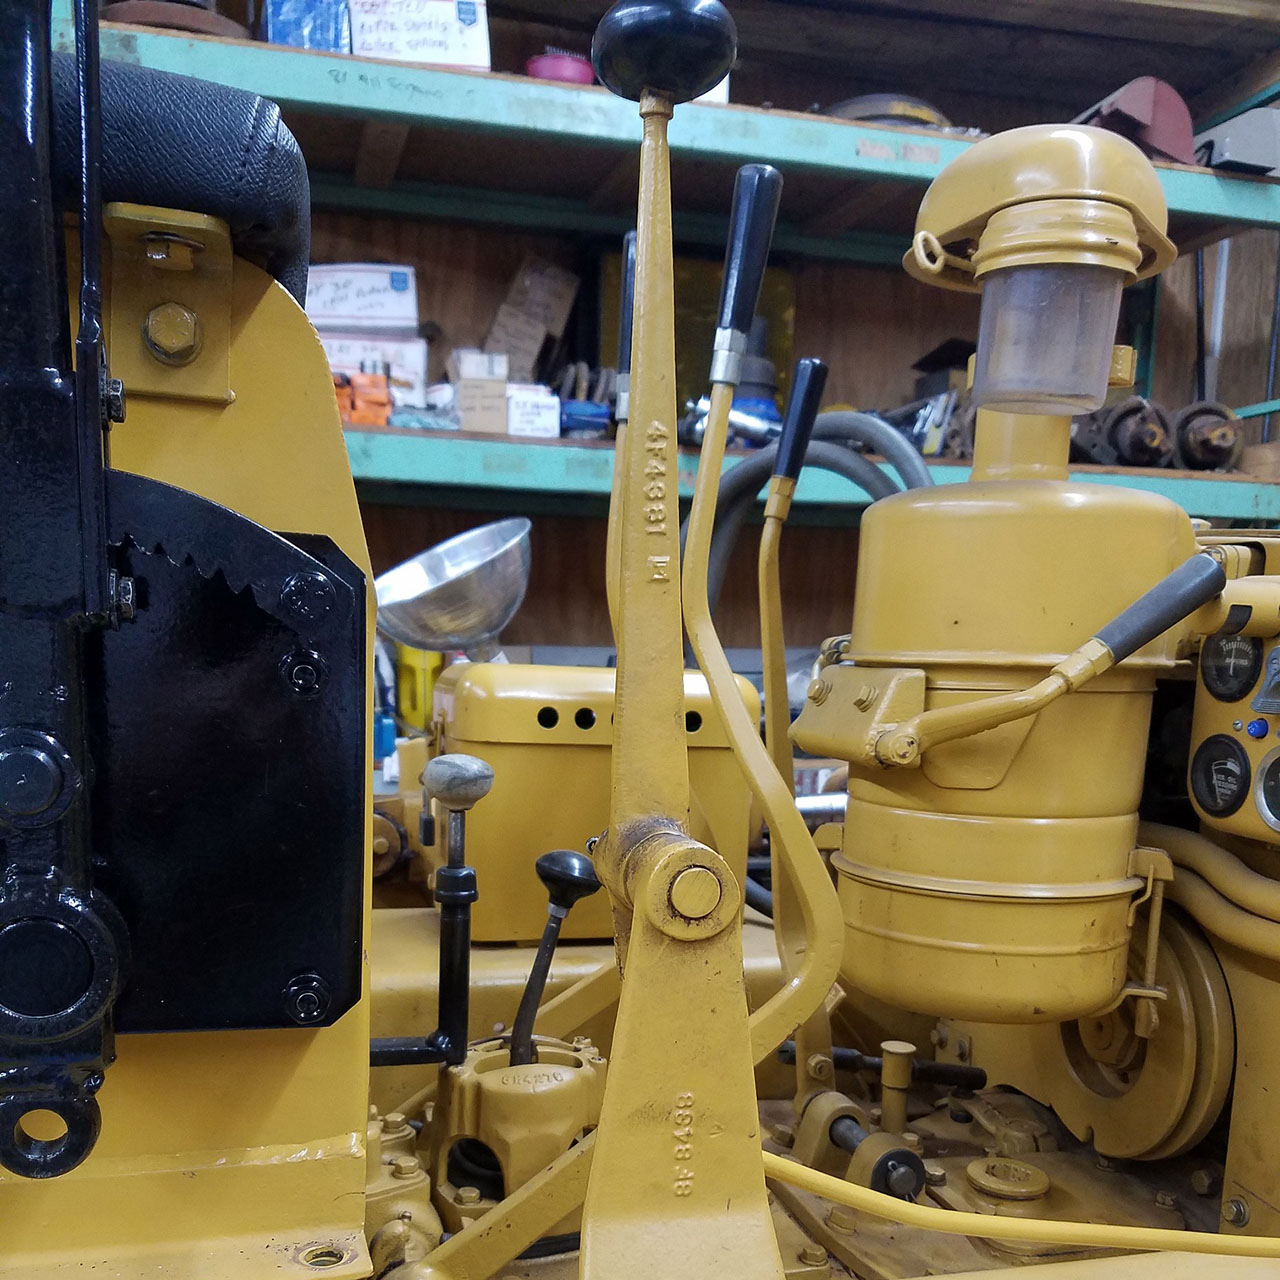
Different view of winch controls

Raise hydraulic blade control
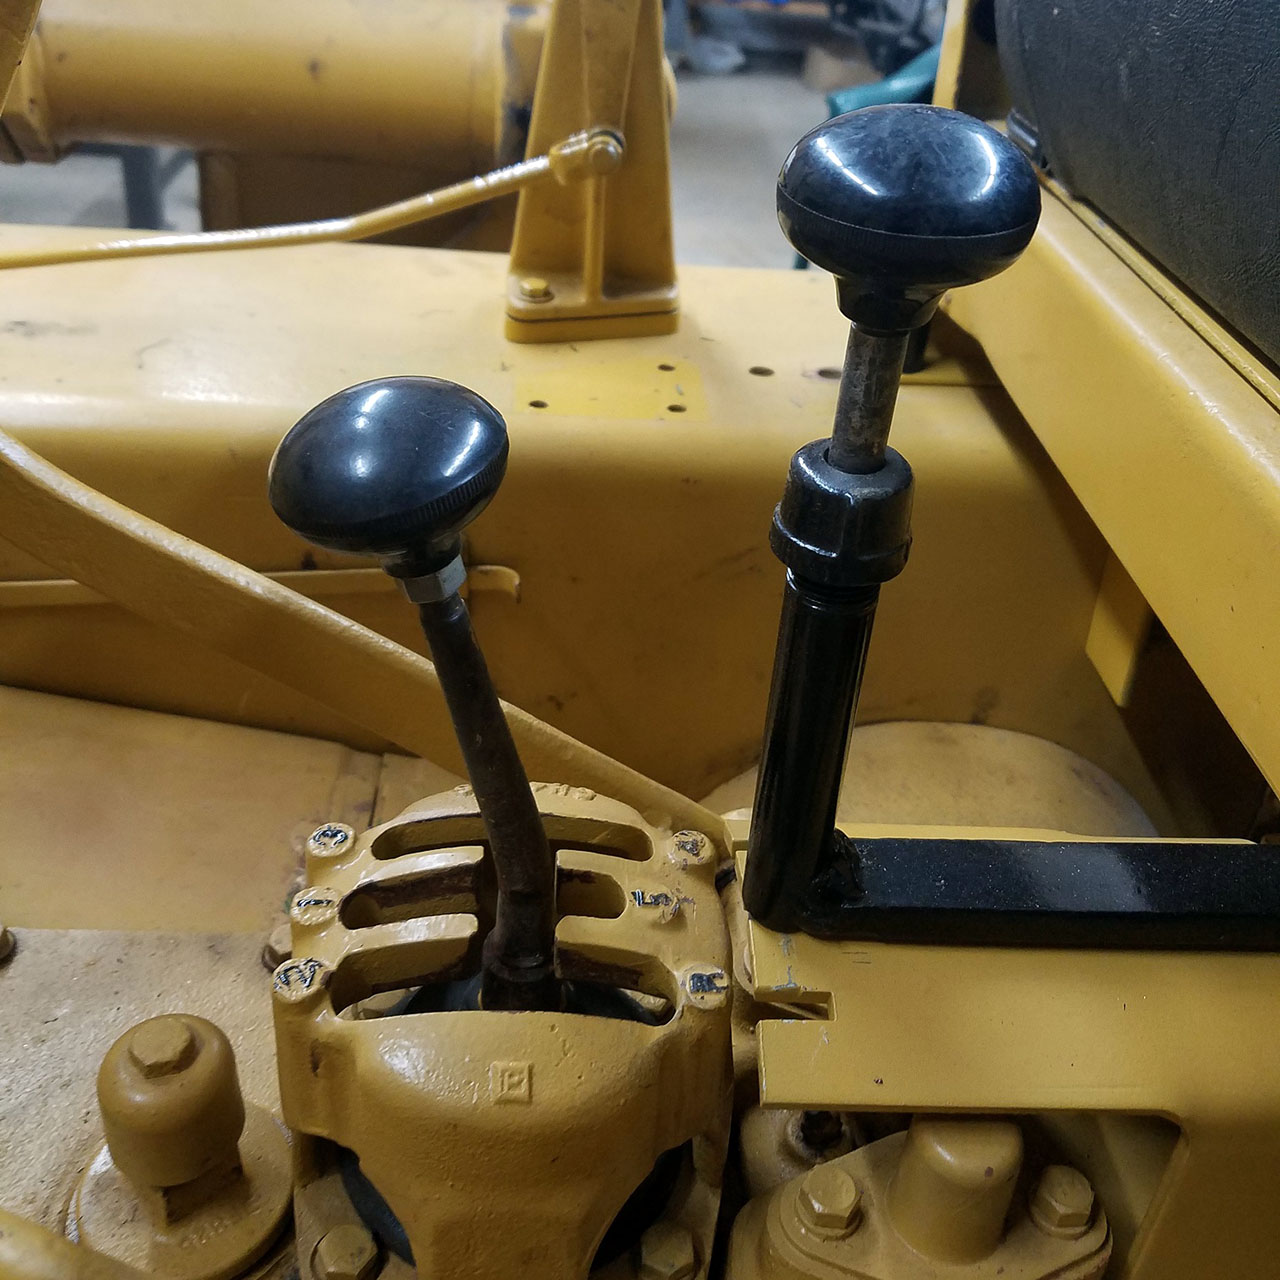
Raise hydraulic blade control

View of Forward/neutral/reverse control
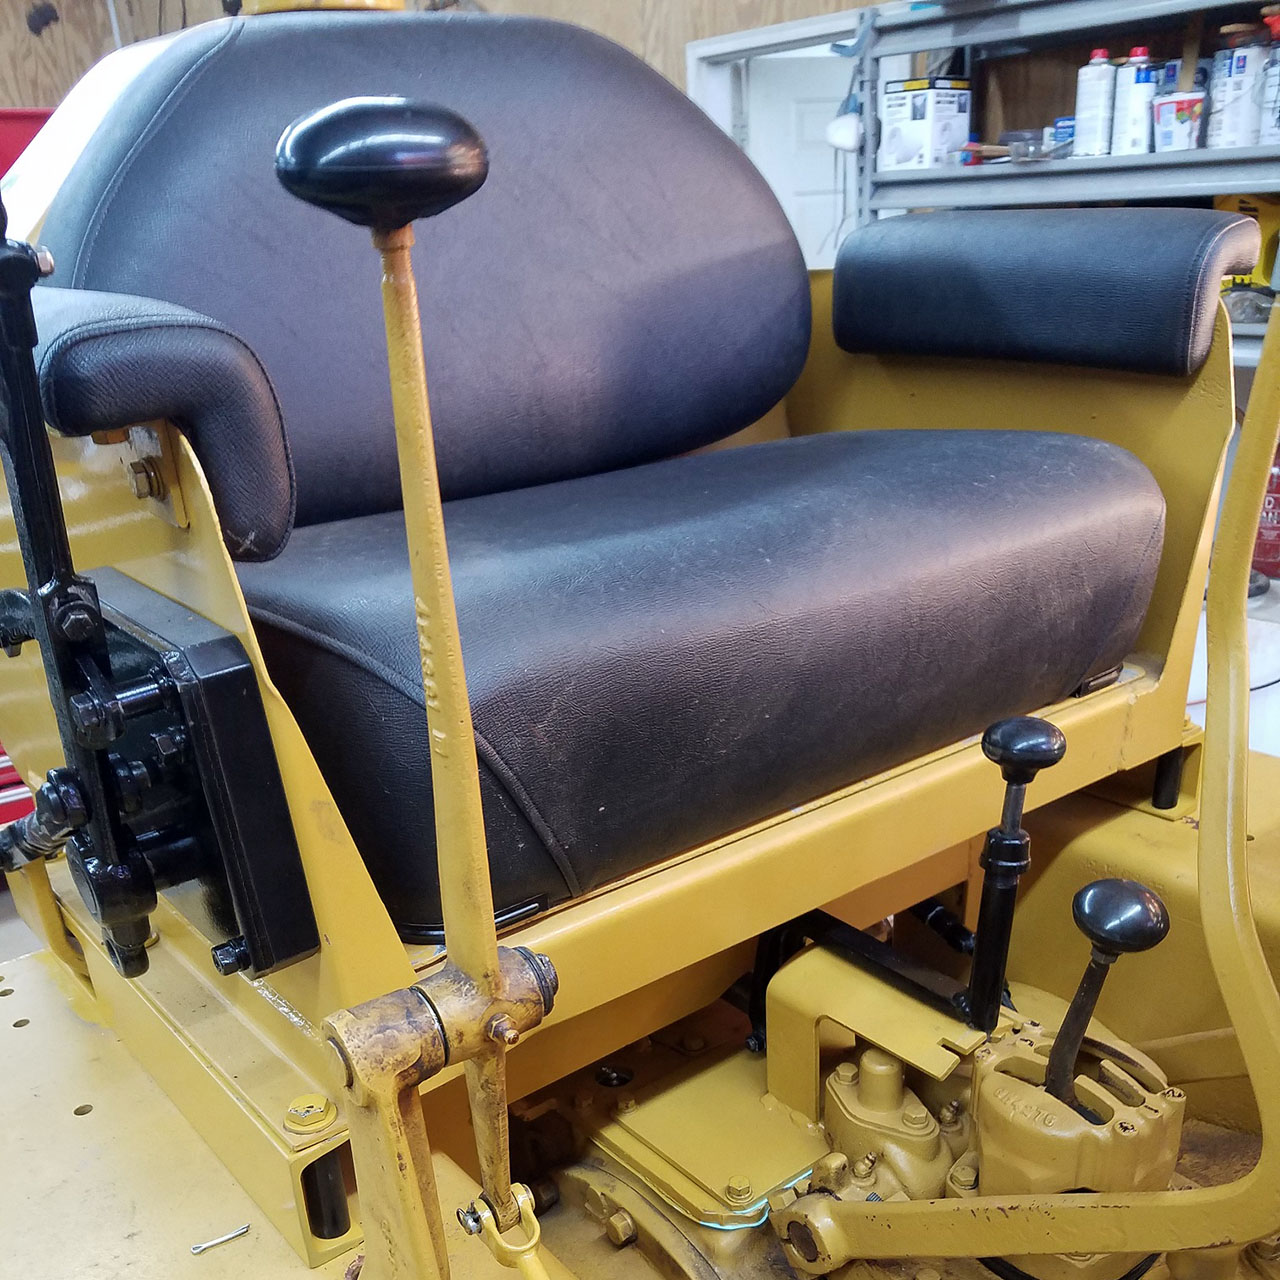
View of Forward/neutral/reverse control

Another view of controls
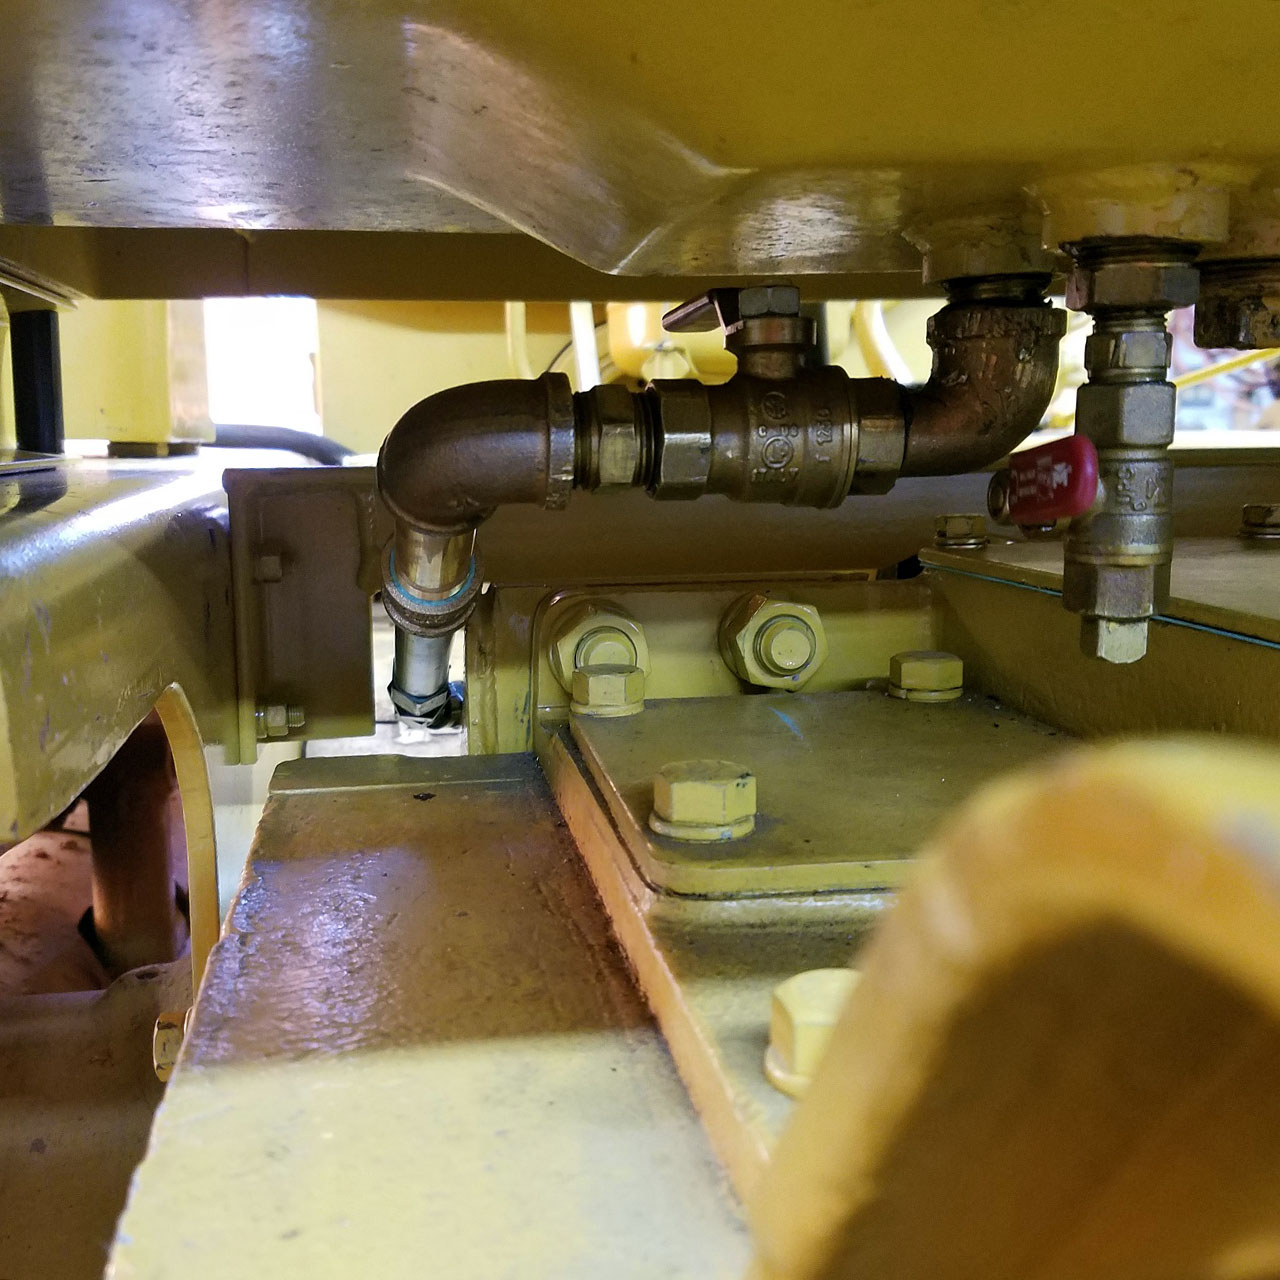
Another view of controls

Fuel line install
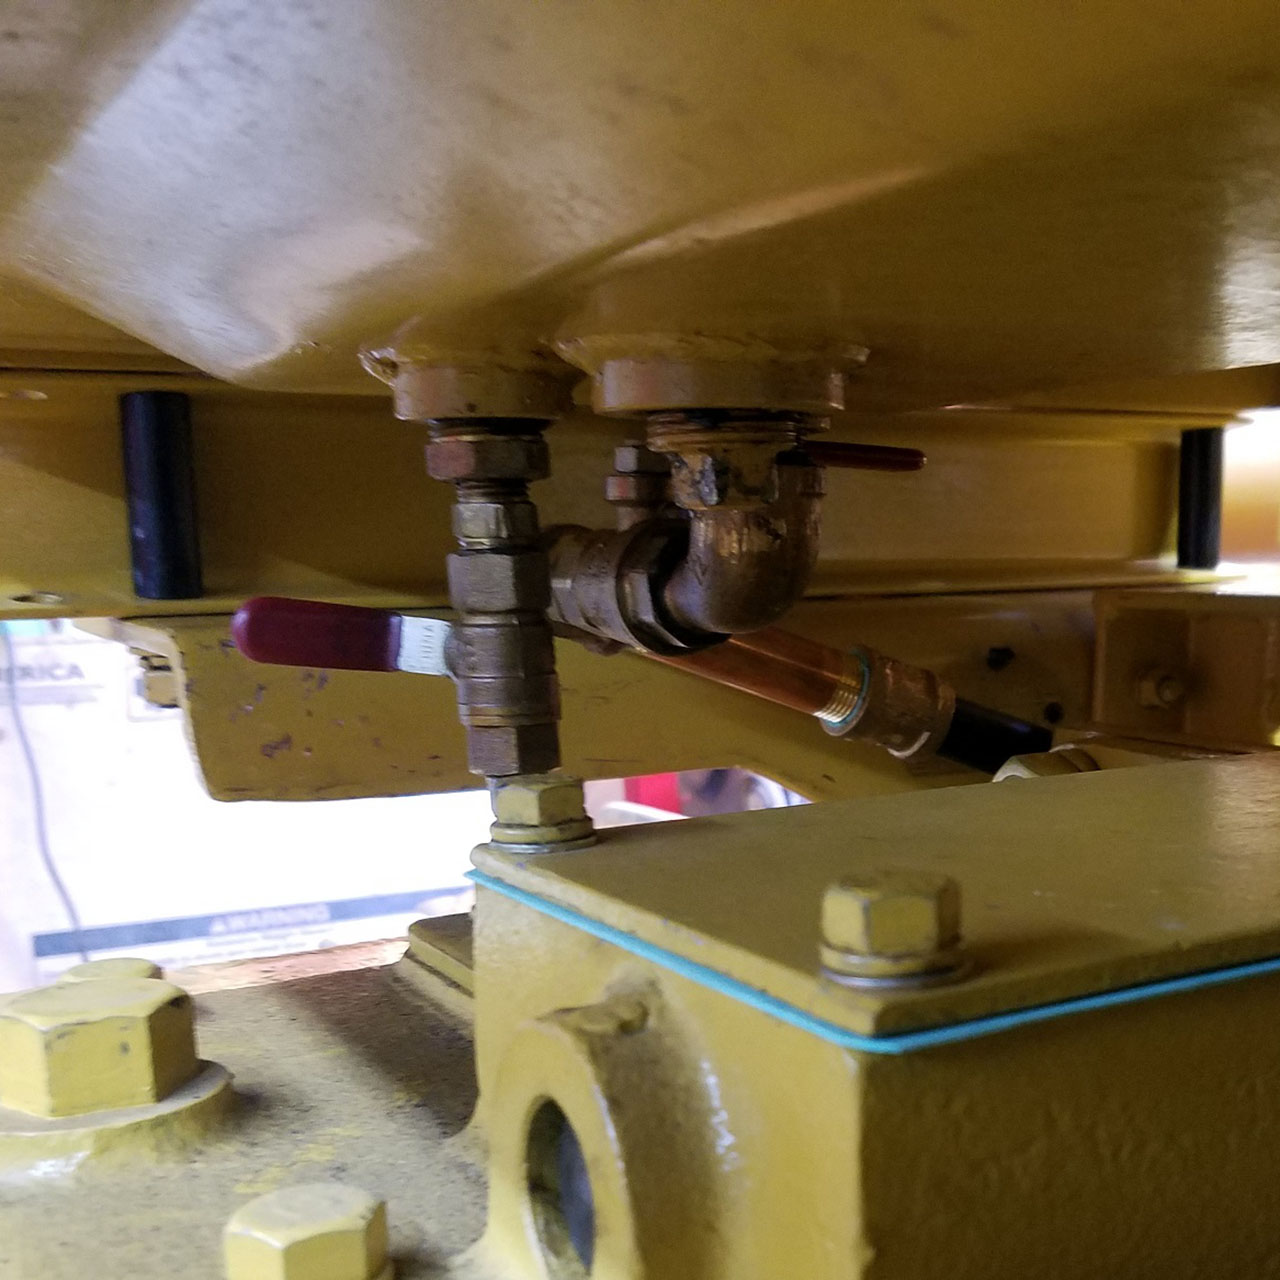
Fuel line install

Another view of fuel line
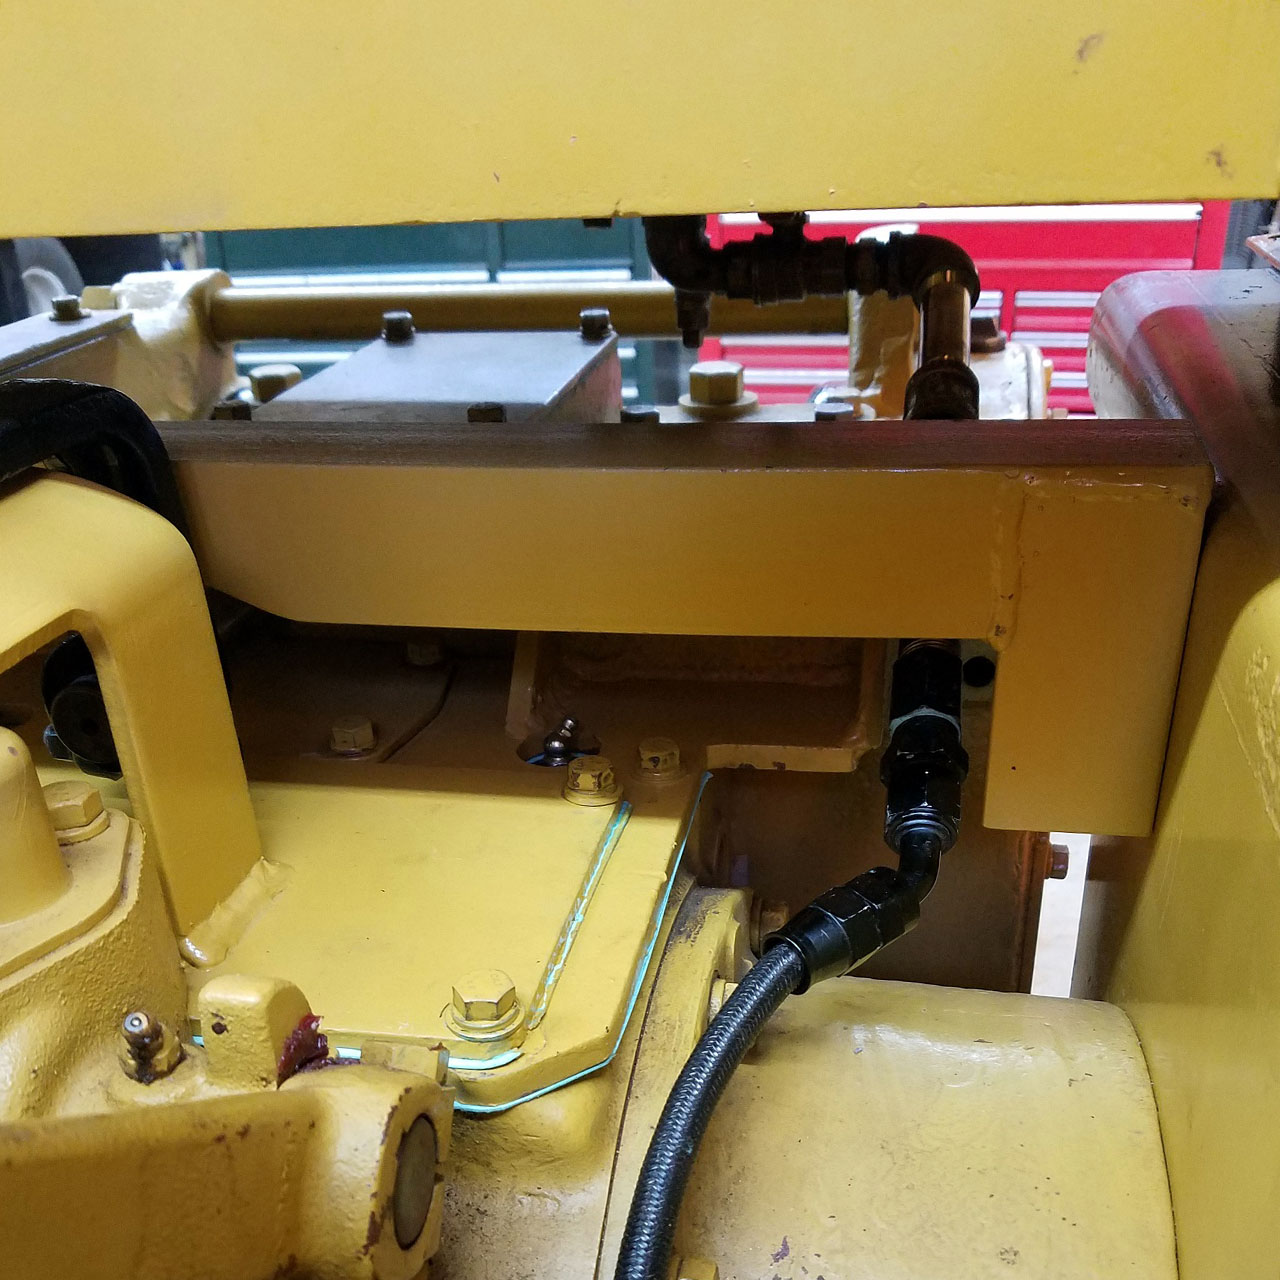
Another view of fuel line

Another view of fuel line - I have since mounted a fuel filter in this location
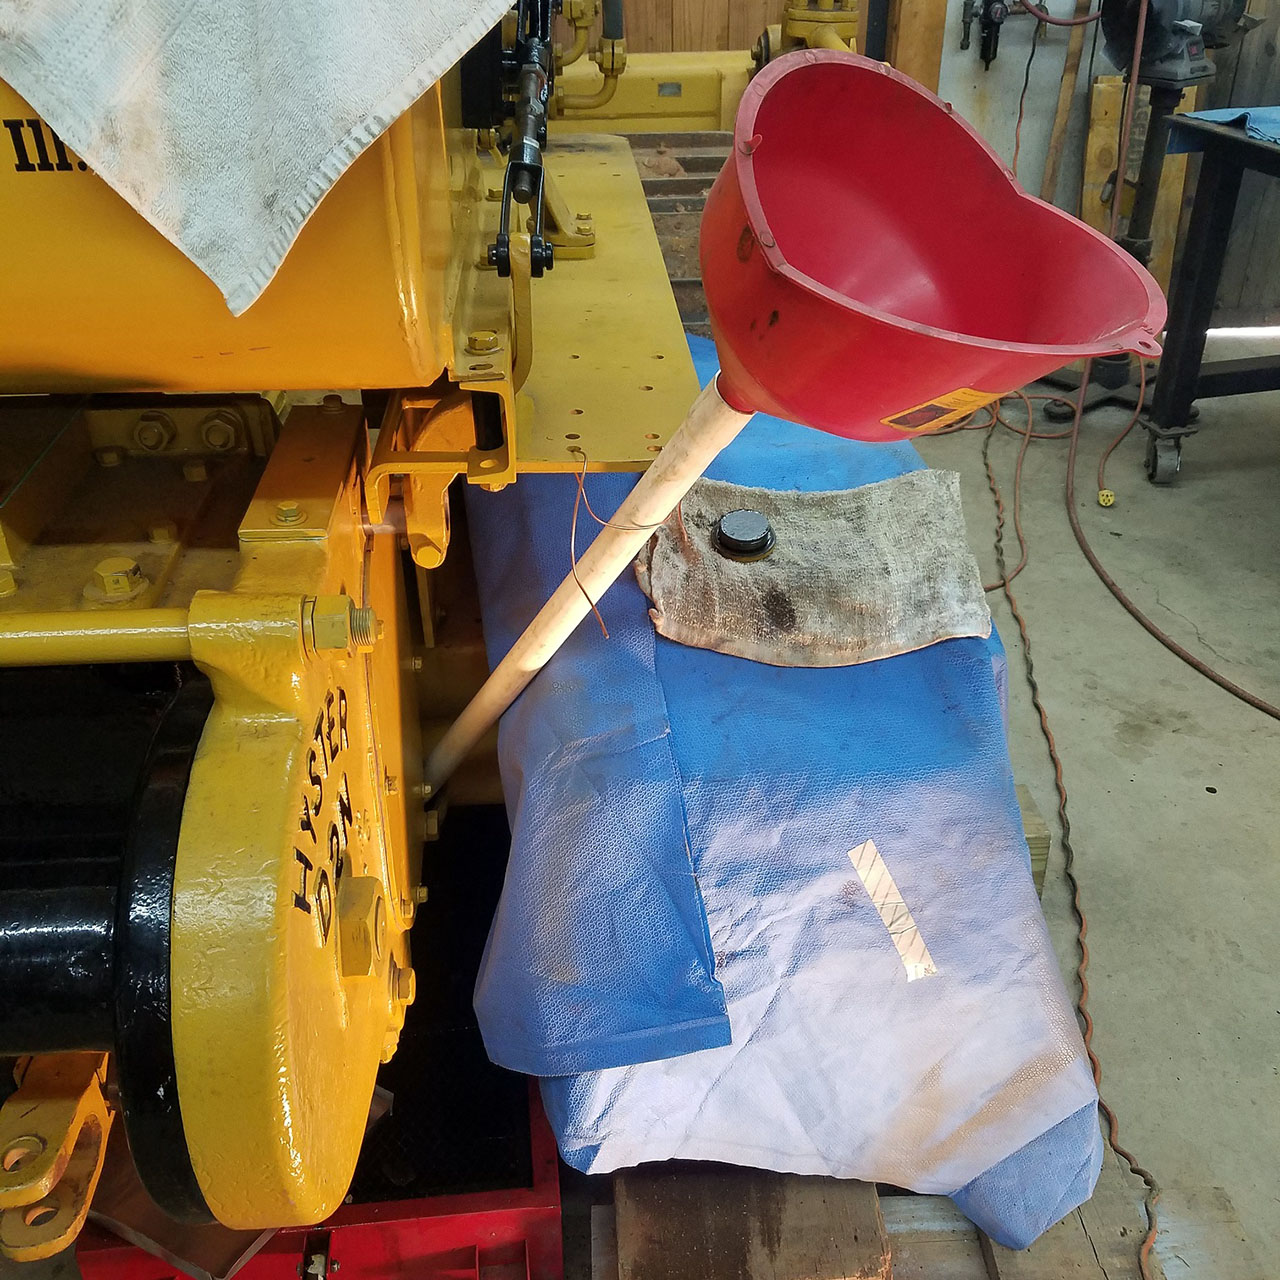
Another view of fuel line - I have since mounted a fuel filter in this location

Filling final drive
Filling final drive

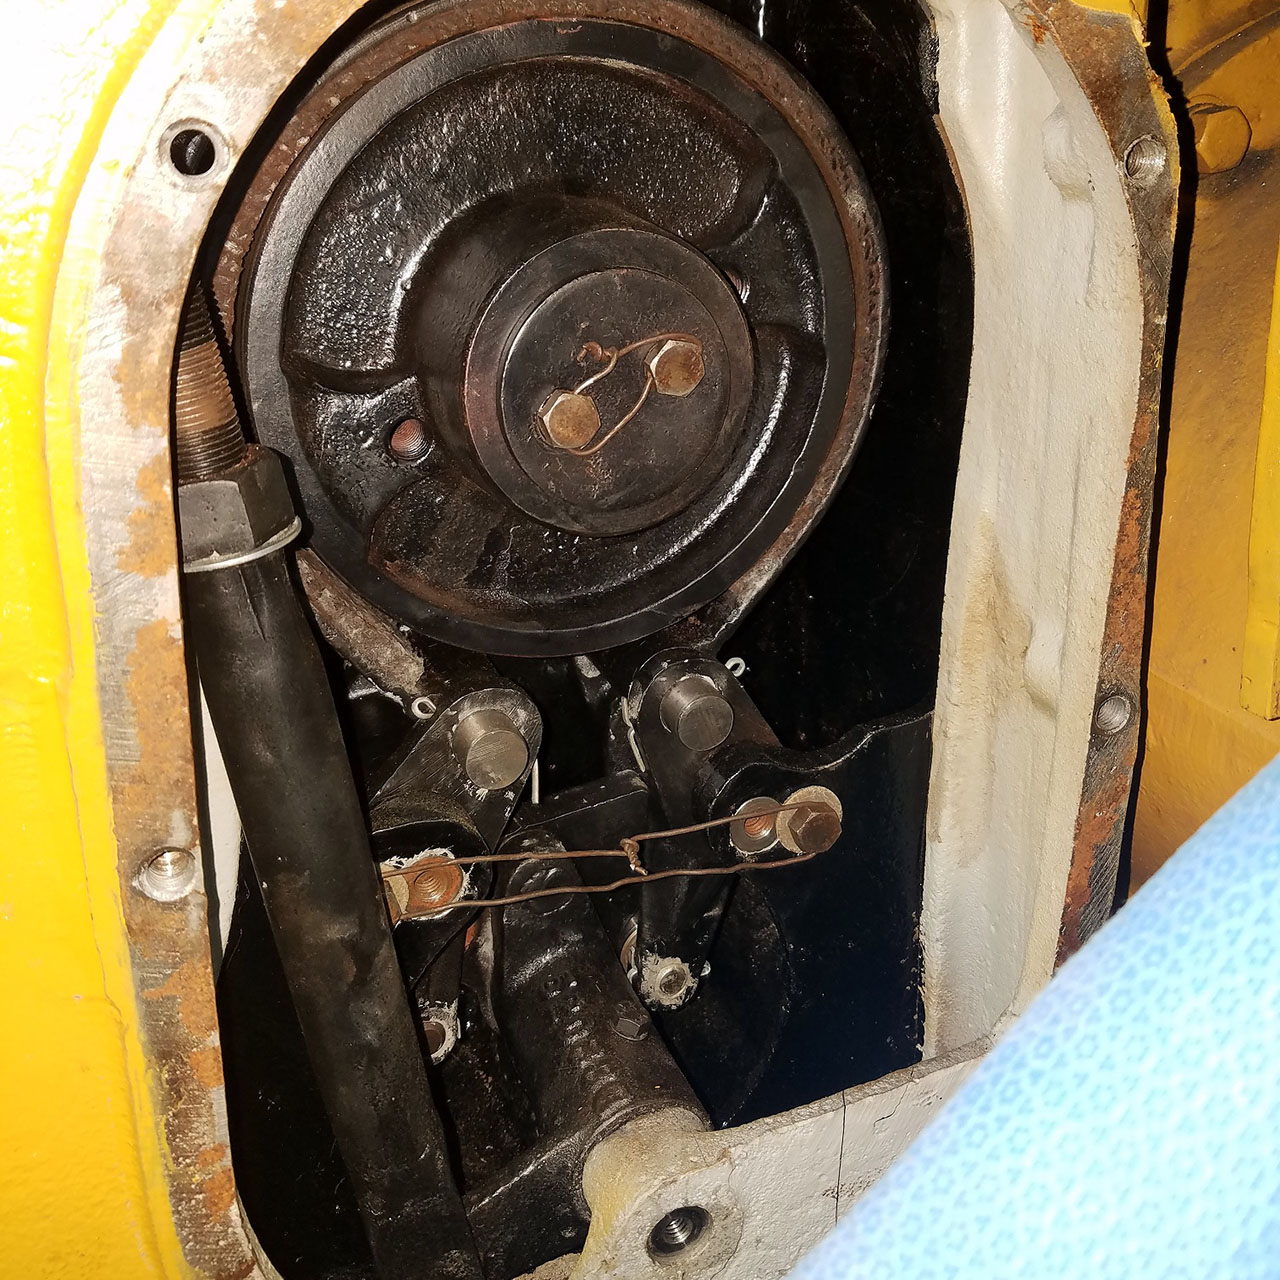
Adjusting winch brake
Adjusting winch brake

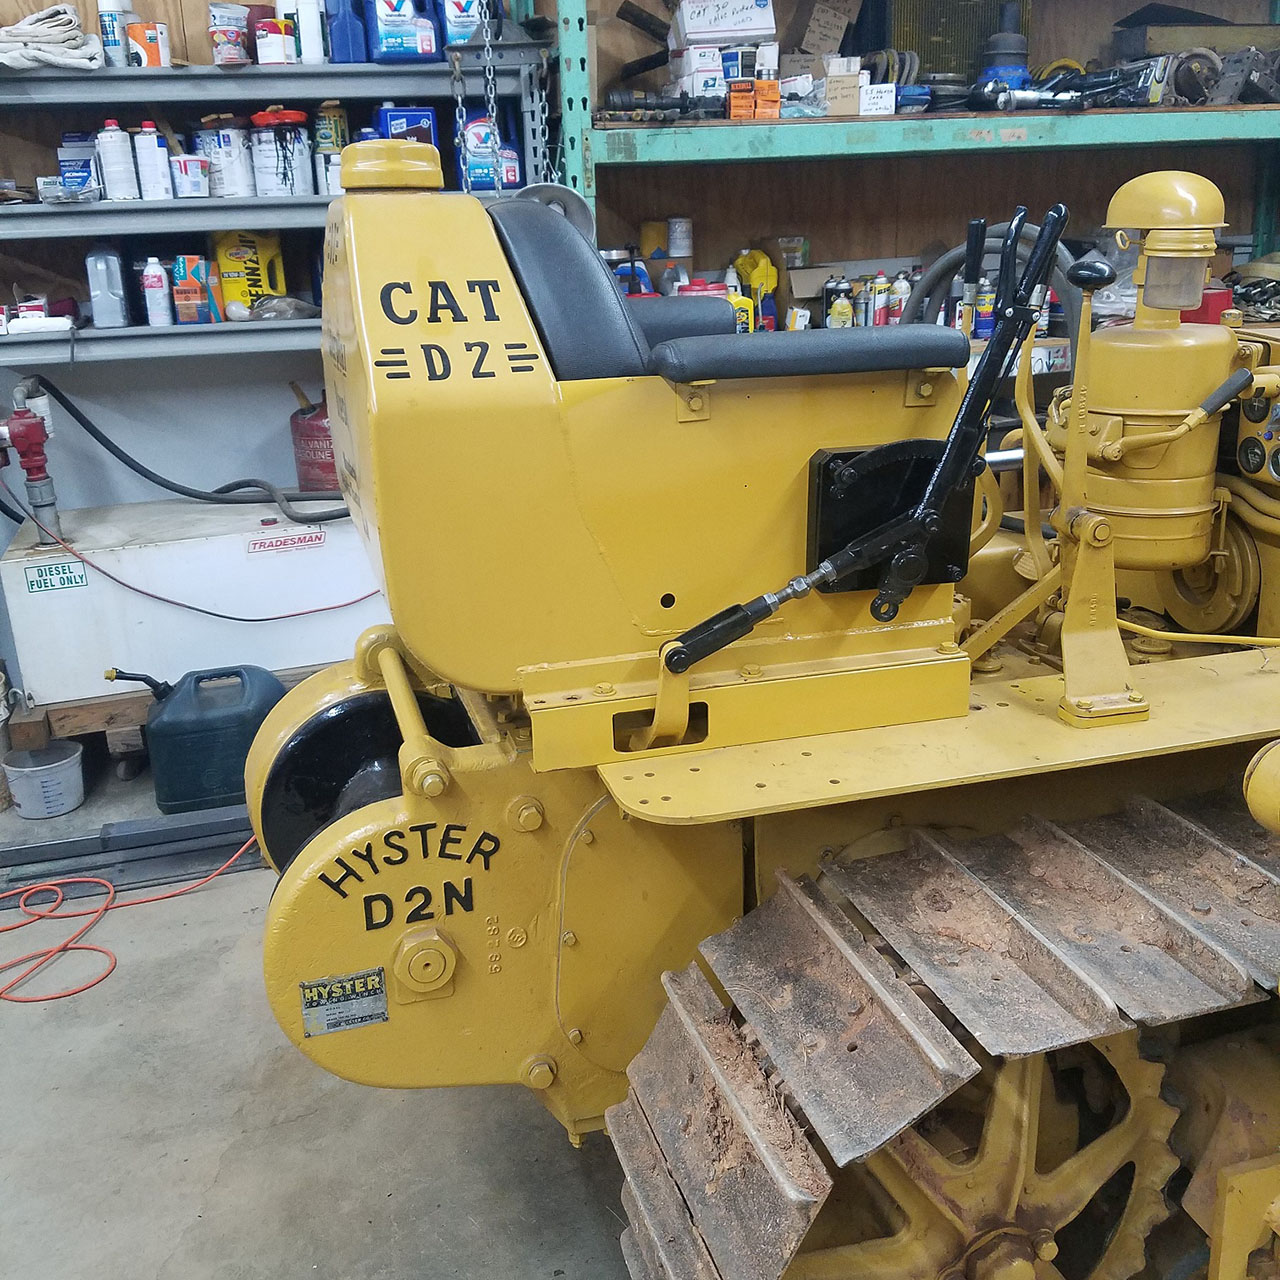
Finished install

Finished install


More Stories

Log in to comment
NGaOldIron replied the topic:
1 year 7 months ago
Great idea Bruce.....I could put a note in with each kit saying to send you your 20% cut directly......😂
B4D2 replied the topic:
1 year 7 months ago
You should purchase several sets of all the replacement parts you found and sell them in a kit. I get a commission for coming up with the idea.
NGaOldIron replied the topic:
1 year 7 months ago
This is the follow-up to the D2N winch on my 1956 D25U. The following photos will show what I found internally. As you can see there was a good bit of surface rust which led to a complete disassembly. I first took a steam cleaner to the parts then used a brass wire wheel to remove all the surface rust from gears, shafts and misc parts. Upon closer inspection the bearings were found to have rust and seals were dry/hard thus the search began for the replacements. I wanted USA made bearings so it took a bit longer to find. The other parts all cleaned up nicely and were oiled to prevent rust.  The biggest challenge was the removal of the brake components. The pins were seized up and required many hours of tedious work to finally get them out. Once out they were either cleaned up or replaced along with any oilite bearingsAnother challenge to find was the retaining clip for the coupler shaft. The one on it was broke and felt sure reusing it would have surely come off and pin would have come out. I managed to find a couple to have a spare. I have three separate manuals showing different D2N winch installations and would be glad to share copies of what you may need to help with a project I don’t claim to know everything about anything but am willing to share what I do know.Just let me know. Have a good day…….Bill Martin.
 
NGaOldIron replied the topic:
1 year 9 months ago
Just a quick note on my D2N winch project. I will do a follow up on the internal rebuild. I have crossed all the seals and bearings and will post them for future reference to others..
B4D2 replied the topic:
1 year 10 months ago
For the sake of clarity, the article was written by Bill Martin and underscores the installation process with some really nice photos.